
BEFORE + AFTER: Our Home Renovation
This 'Before + After' has been a long, long time in the making! Our home renovation has been complete and I've been meaning to get it photographed for a while now. However, it took meeting some lovely ladies at the Design Bloggers Conference and setting up a collaborative #SpringIntoHome blog series to kick start something I'd had on the back burner for a while. In case you're here and you missed the full tour of our home, you can find it here. Okay, without further adieu, here are the 'Before' photos - what the house looked like when we bought it - and a few 'after' shots.
LIVING ROOM


We got rid of the window on the north wall to achieve a better furniture layout which allowed us to move the TV to that wall. My favorite thing about this room is the floating shelf. While it doesn't provide a ton of storage, it's perfect for me because I love to change things out periodically. The whole look of this room can change depending on what's on the shelf - right now it's mostly artwork + photography but at Christmas it's a cedar garland that drapes over the edge. You can see this room at Christmas here if you like.


DINING ROOM + STAIRS

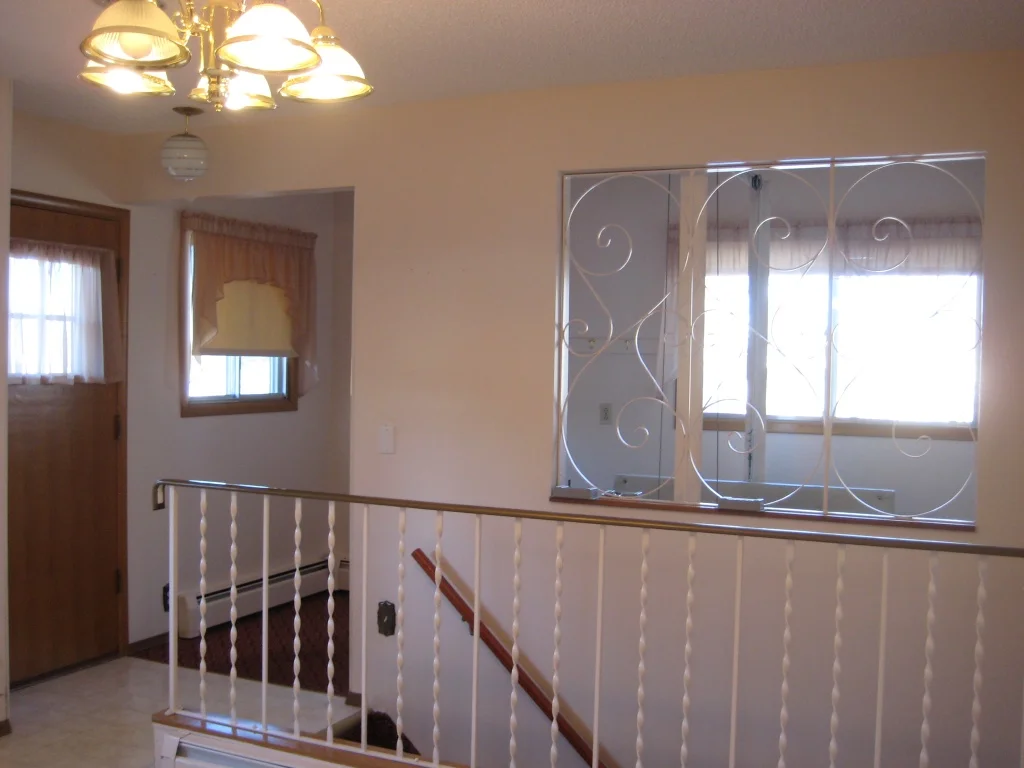


We removed all the interior walls in the above photos and shifted the stairs to the edge of the house (there used to be a platform elevator lift where the stairs are now, if you can believe it). That made a huge difference in the amount of space we had for a dining room and of course, the whole main floor feels larger with those walls gone.


KITCHEN


As you can see, pretty much everything about the previous kitchen changed. New flooring, cabinet, ceiling, lighting, countertops, appliances, window treatments.... Pretty much the only thing that didn't change was the basic appliance layout - I actually liked it the way it was - we just extended the kitchen by about a foot on the fridge side (by shifting the dining room window) and added the island in place of the hallway wall.


MAIN BATHROOM

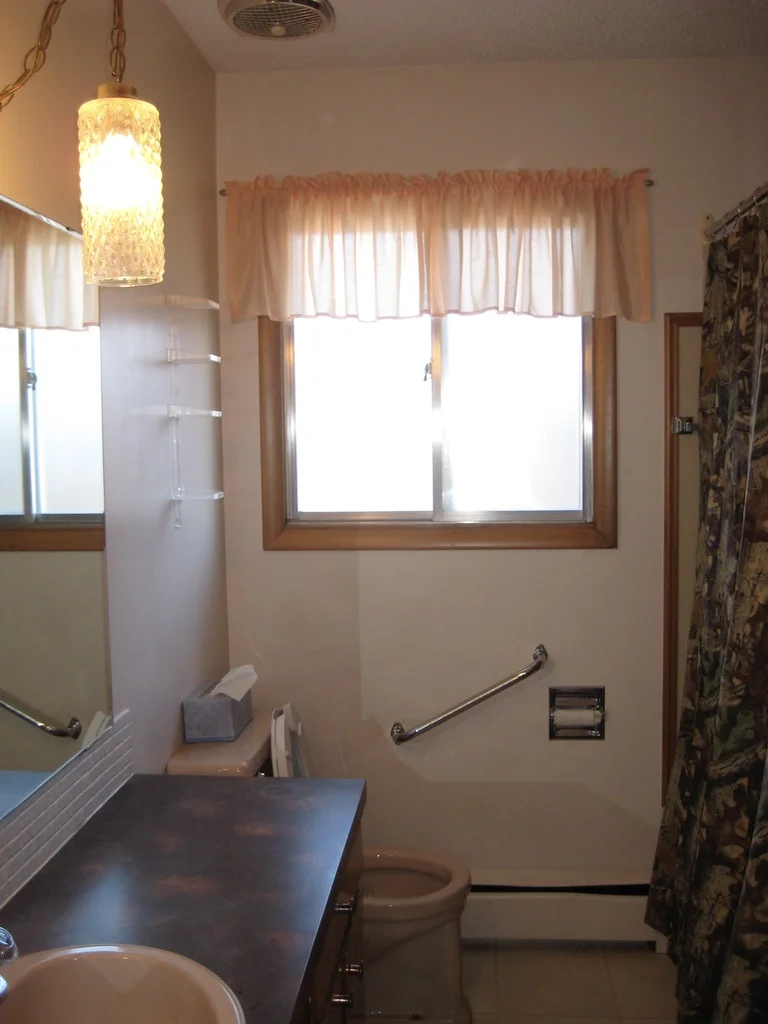


The bathroom got a major overhaul - we removed the home's main boiler stack, shifted plumbing, and moved the windows to let in more natural light. There's so much more floor space now and room to move, not to mention much better lighting. We debated framing in a storage area at the end of the bathtub but now I'm so glad we didn't - instead we used glass shelves from IKEA to keep the room feeling more airy + open. I love switching out the things on these shelves - at Christmas time, I deck them in cedar from the farm.


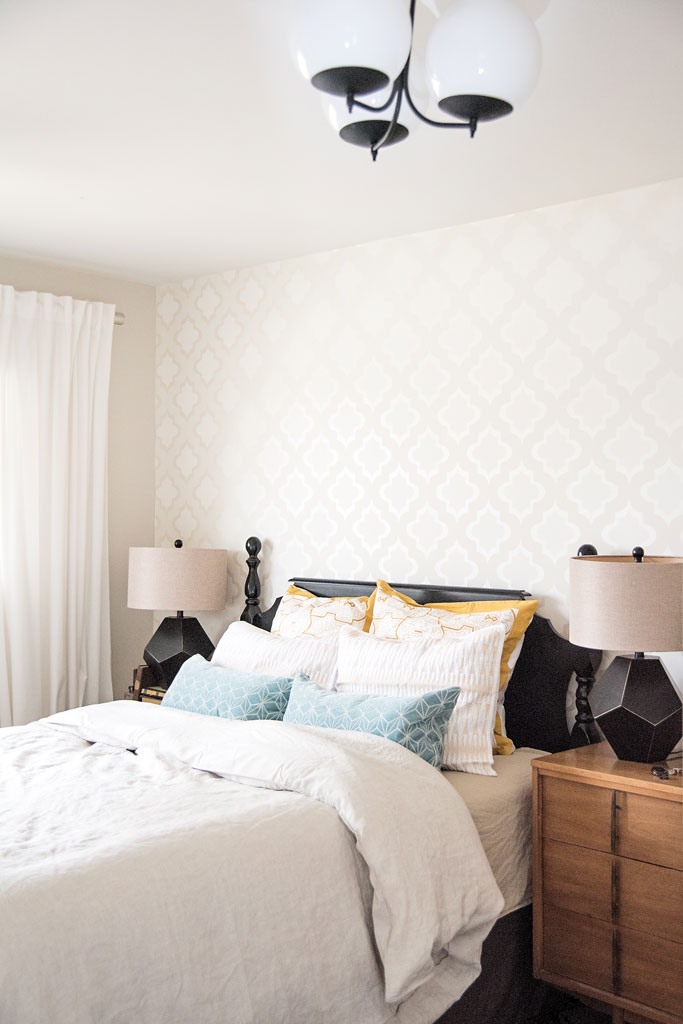
MASTER BEDROOM


Just mostly consmetics in here. Check out the Home Tour for the sources on furnshings and fixtures, including our lovely wallpaper.


See? No matter the condition of what you're starting with, there can almost always be an improvement made if you're willing to contribute a bit of an investment and a lot of time into your home. Although I believe your home is always worth investing in, we were very careful what we spent on this renovation because we know we will eventually sell this home in hopes of building in the countryside. Saying that, we aimed for quality materials that will appeal to buyers as well as suit us while we're here.
Want to learn more about our process or have a major renovation in mind yourself? Get in touch to see how Farmer's Daughter Interiors can help!
