
HOW TO // Make Dip-dyed Easter Eggs
Happy Easter! Easter Sunday is one of my favorite days of the year. There's so much hope and life in this day and I love all that it represents.
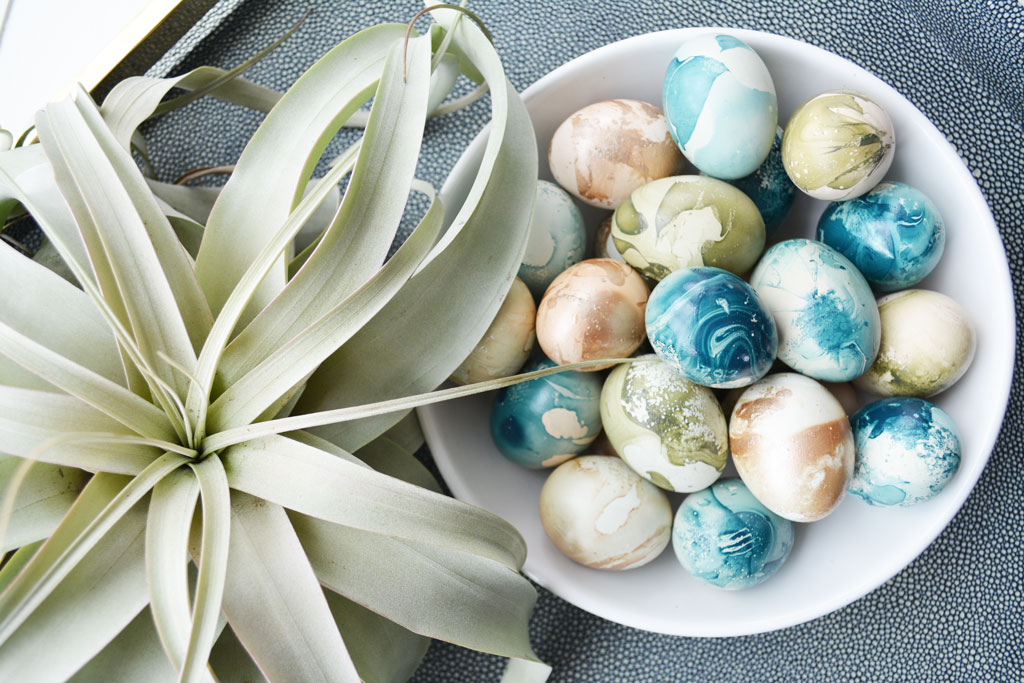
It's been a busy weekend with lots of family functions but I had some down-time today and remembered I had tried these dip-dyed Easter eggs last year on a tutorial from Alice + Lois. I loved them so much I wanted to make them again this year! They're a little messy to make but super easy and I love how they turned out!

Friends of ours sent fresh farm eggs home with my husband the other day, just in time for Easter. They raise several different breeds of laying hens and that's the reason for the beautiful colors in the natural shell.
What you'll need:
- faux decorating eggs or hard boiled eggs
- rubber gloves
- craft stir stick
- a few plastic containers that you don't mind throwing out
- nail polish in your favorite color(s)

To make the marbled eggs, fill the plastic container with warm water. Wearing rubber gloves, add a few drops of the nail polish to the water and let it swirl around a bit. There's a perfect window to drop the egg in - too soon and you'll get a huge spot in the pattern or too late and the polish forms a film on the water and clumps on the egg. I had to try a few - it's kind of hit and miss. If the polish is sinking to the bottom as you drop it in, try warming up the water a bit more.

Using your gloved fingers or small tongs, dip the eggs into the water one by one. I used some extra craft sticks to make a bit of a drying rack but any kind of a drying rack would work fine.

The nail polish makes a really pretty pattern on the egg that's different every time. I tired double-dipping a few + that seemed to work okay too if you want a bit more pattern.

And that's it! Other


Hope you enjoyed this easy DIY! Happy Easter!!

- - - Previously published on April 16, 2017 - - -
